CB1 naming service

Since v1.0.0, CB1 Blockly for Tablets adds the support of user naming. It consists of two parts, CB1 selection window and customize naming.

CB1 selection window

This window will appear when app launched, or when you click ‘CB1’ button in panel area. It will scan nearby area for CB1s which are in ready to connect status (ie. constant lit blue LED on CB1 core controller). These discovered CB1 can be connected and will have a ‘connect’ button in the row to connect app with the specific CB1.

Name lookup and changing

In rows of discovered CB1, the app will try to query if the CB1 has ever be named by any user. This is a feature for many CB1 core controllers operating in close range - so that the app would need to be able to distinguish their identity. This names are sync’d over Internet, so you can rename once and see the last defined name show on other devices.

This feature works best on iOS devices. For Android environment, it depends on BLE capability support and some device might not be able to qeury name successfully. Also, Internet access is mandatory for this feature.

external power

If you were heavy user keep building new models, you will soon find the necessity to find a more durable solution than AA battery packs. Recharble batteries are certinaly a viable option, but recharging still takes time and the desire to innovate can’t wait for long, sometimes. Fortunately CB1 control box comes with external power interface to address this.

It’s a common extra-low voltage DC connector. The mechanical dimension is:

  • ID (inside diameter) = 2.0mm
  • OD (outside diameter) = 6.0mm

Polarity wise inside is positive, outside is negative.

Regarding to power supply, it’s a little bit more tricky. The design voltage input is 5 Volt. While the electric current needed depends on the model you’re building. If the model requires full power output from all actuators (ie. all motor modules might be stucked and requires the maximum torque to break through), then the power supply has to be chosen carefully. We have seen peak values of electric current reach between 2.6 ~ 3 Amp. Do proceed with care if you’re trying to connect to external power supply.

As a reference, most mobile phone or tablet chargers (adapters) supply around 2 Amp at 5 Volt. While some quick charger might go up close to 3 Amp or more.

One DIY trick to offer is, you can easily use a femal USB connector to quickly hack one charger for your CB1 if you don’t mind soldering a little bit.

A quick hack will look like following:

Dreaming about unlimited power?

knob calibration

The knob control on CB1 control box provides a handy physical input source. It’s based on variable resistors on the circuit. Sometimes resistence value read on the underlying MCU might need calibration, as do most analogue signal sources. Hence we added knob calibration feature since CB1 Blockly v1.0.0
When CB1’s connected via BLE or USB, you can click on the knob gauge on panel area to start knob calibration. When the calibration window popped up, you can see two gauges, the upper shows ‘raw’ input value, which is the value directly read by MCU inside control box. The lower one shows the calibrated value. It utilizes the stored calibration minimum and maximum value, and calculated via linear calibration function.

If the value has been set previously, you can see on values of varibles named ‘knobCalibMin’ and ‘knobCalibMax’. If you find the calibrated (lower) value guage still show incorrect numbers when you turn to CW and CCW dead points. you can press ‘Reset calibration value’ to re-calibrate it again.

execution mode

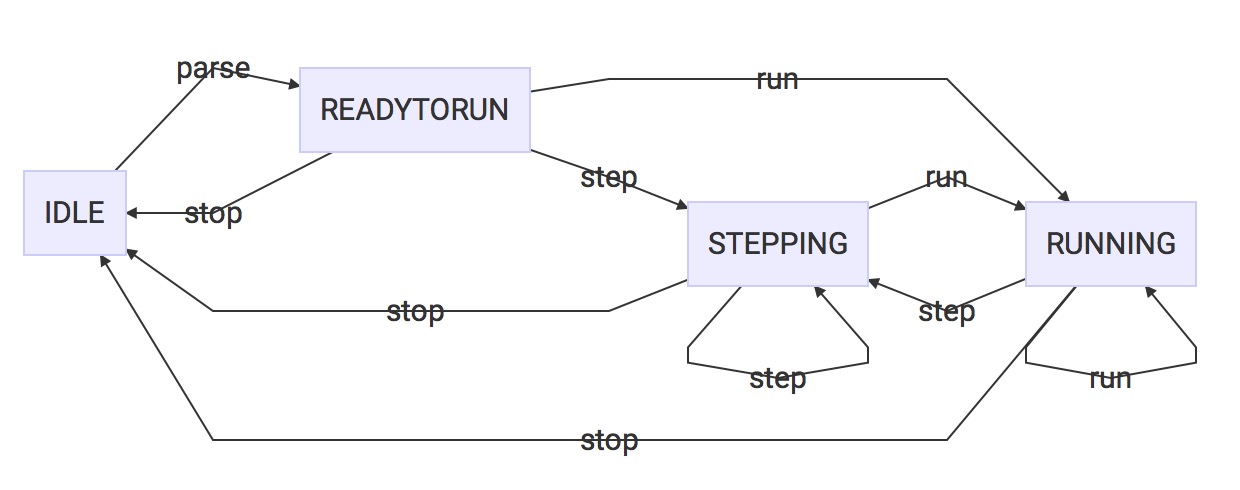
Stepping vs. Running

Just like other programming environment, CB1 Blockly comes with two modes of execution: step and run. Both are available to start when parsing is done via pressing ‘parse’ button.

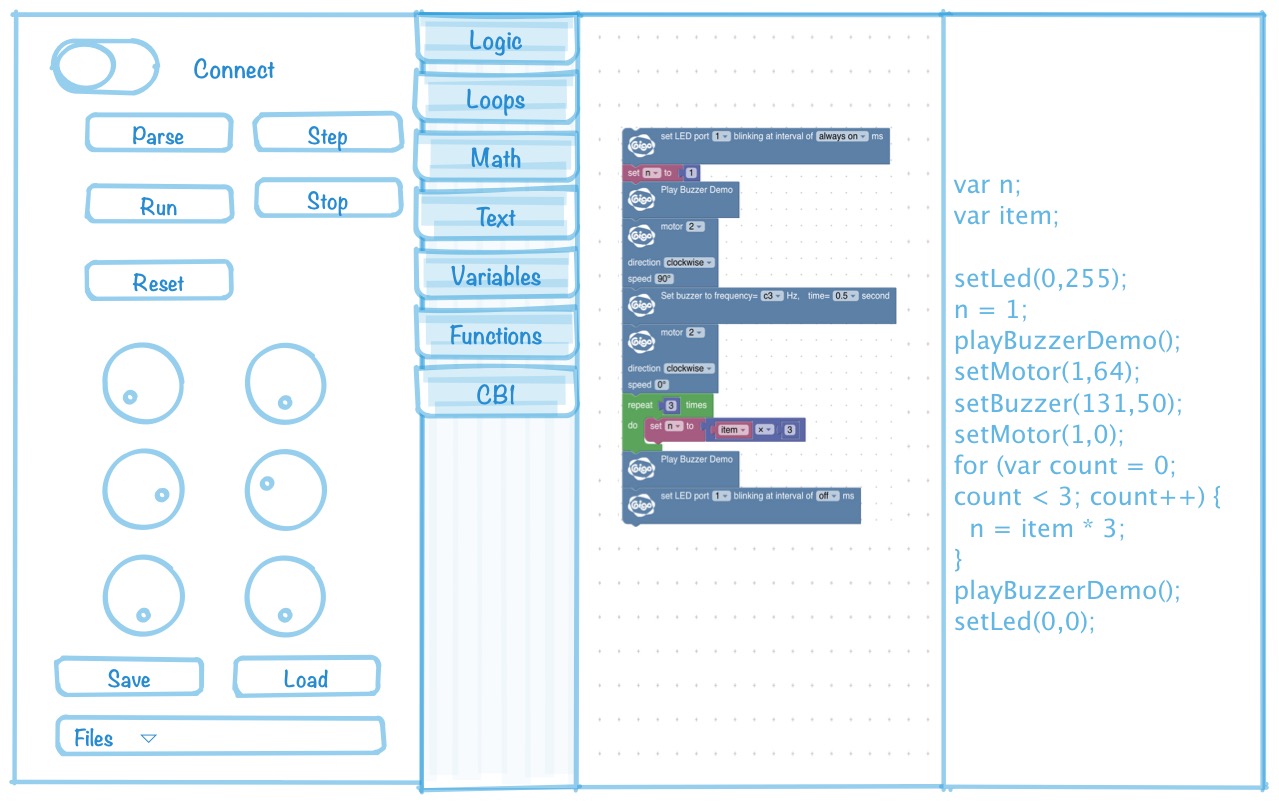
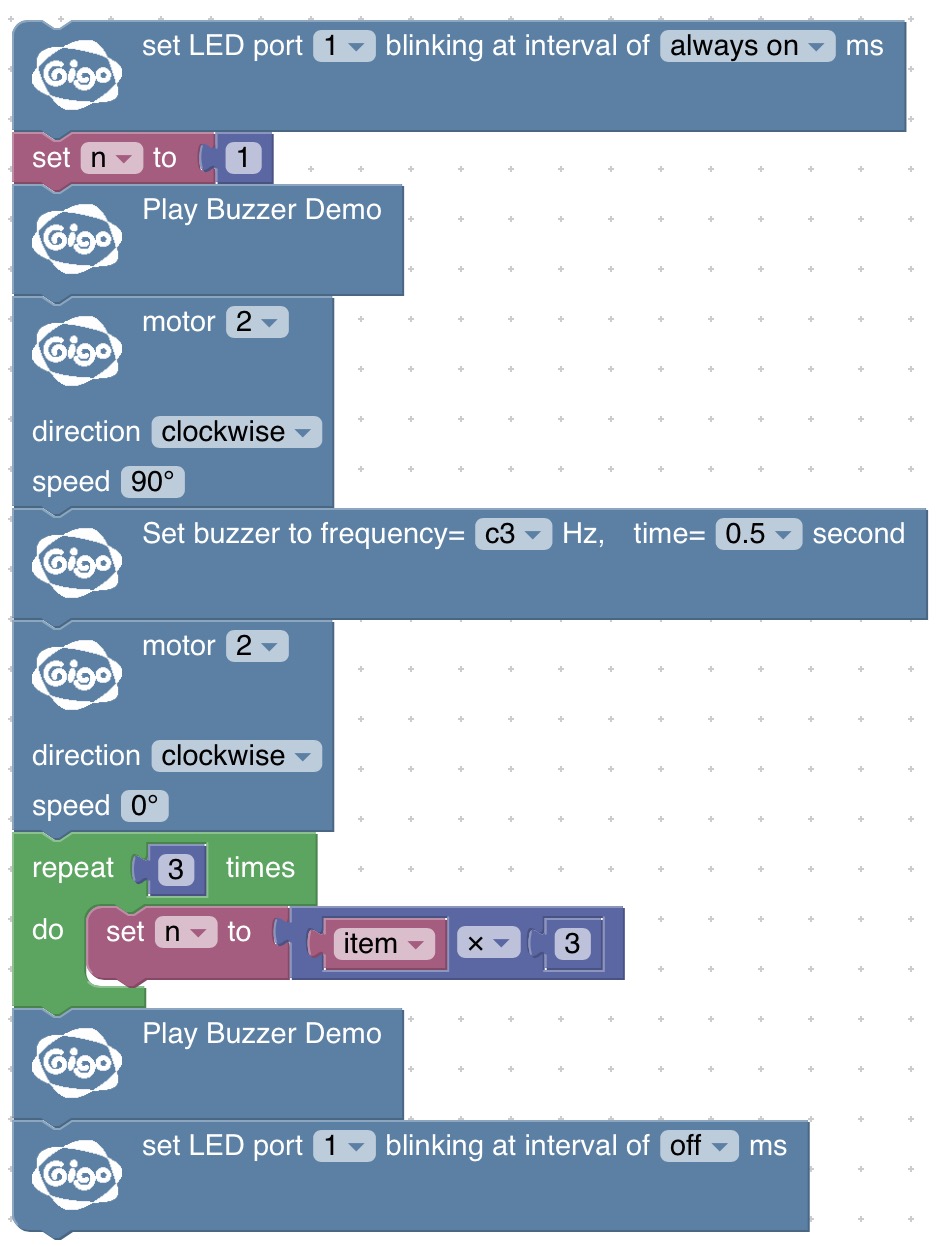
Stepping is very useful when learning new language, or to try out new code that you’re trying to put together. It allows programmer to example her logic and observe the input/output accordingly. Since Google Blockly is a visual programming environment, each step can be highlighted with yellow edge to make it easier to spot. CB1 actuators (ie. buzzer, motors and LEDs) also generate directly observable outputs and help you to make sure the code is correct.

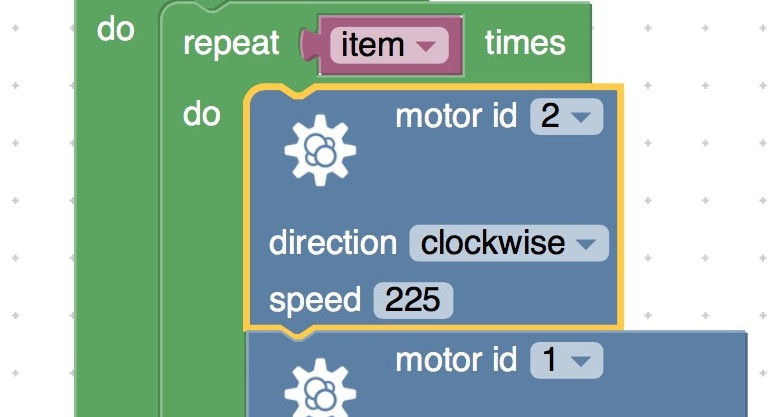
Yellow edge indicating current step:

Changes in v1.0.0

One major change in CB1 Blockly v1.0.x is to remove ‘reset’ button and merge its functionality with ‘stop’ button. Also, now we can interrupt running program by pressing step button; vice versa, we we can make a stepping program to run continuously.

execution mode \ app versions v0.9.x v1.0.x
parse required required
running to stepping not supported supported
stepping to running not supported supported
reset when stepping supported removed (use stop directly)
stop anytime supported supported

Execution speed

Some may find that even in ‘running’ mode, the program is not executed in full speed. You’re right. Underneath CB1 Blockly always run programs in stepping mode. Running is just a faster ‘stepping’ mode - by shortening the delay between steps, and automatically continue the next step. This deisgn is to fulfill CB1 Blockly’s role as an eduction environment and make it easier to visually observe the execution.

That said, we are fully aware that many of new programmers wants to race her programs in full speed, especially when desiging new algorithms for brand new robots. The fastest way to realize full speed execution is to detatch visual feedbacks on blocks - ie. make the programs run as fast as possible without updating blocks in GUI. This would indeed make CB1 Blockly Windows run in full speed using USB. However for CB1 Blockly on Tablets which relyes on Bluetooth LE, the fastest possible speed of execution will still be throttled by bandwidth of Bluetooth LE. T2T Inc. will introduce faster speed of execution in future revisions. Before that, stepping is still a handy tool to master your programming skill ;)

mind faster, my dear?

“He who would learn to fly one day must first learn to stand and walk and run and climb and dance; one cannot fly into flying.”

Friedrich Nietzsche

End of program

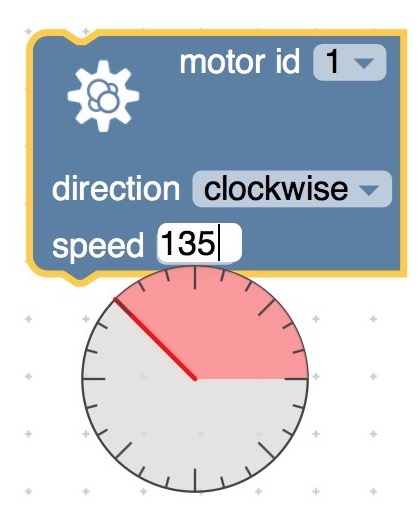
Another major difference between v0.9 and v1.0.0 is that, at the end of user program execution, v0.9 will just leave states of actuators as-is; ie. if your program ends leaving motor id.2 at turning CW for 50% speed, it will remain so indefinitely until you press ‘reset’ button.

In v1.0.0, since the ‘reset’ button is integrated with ‘stop’, by end of the program (evaluation), CB1 Blockly will enter ‘stop’ state just like the state you press ‘stop’ button manually. The state machine is:

program save feature v1.0.0

One major change in CB1 Blockly v1.0.0 is to change user program save/load feature. The original design is to minimize user textual input, even for programing saving/load, by pre-allocate sets of save slots. Before v0.9, t2t engineers ask oursevles, what would be the best way for young programmers to try out visual programming? Some thinks that it’s actually quite difficult to give meaningful names to either variables, subroutines, or programs. To name something in brief and meaningful way, is a skill to be picked up later in programming practice. Probably gets easier when concept of angebra properly taught.

Nevertheless, we resopnd to such feedbacks from classroom usages by adding this ‘prgoram naming change’ feature in v1.0.0 hoping that teachers would guide young users through this seemingly easy yet complicated naming practice.

  • click Save button on panel

  • click Load button on panel

angular input in v0.9

Some feedback of CB1 Blockly v0.9 suggests that the angular input widget (angular field) might be misleading when used for motor speed parameters. The reason we put it this way is to reduce the amout of keyboard typing in visual programming. Especially on tablet environment, invoking the virtual onscreen keyboard to input alphanumerical values somehow interrupts the flow (and fun) of drag-and-drop programming.

As a compromise, t2t will remove the angular degree symbol on the widget and hope CB1 Blockly v1.0.0 users will be less likely misled to the UI.

Under the hood, this input value is divided by 360 and is used as the percentage of power output for the motor module. For example, 120 will be translated into 120/360 = 33.33%.

CB1 Blockly introduction

What’s it?

CB1 Blockly is a visual programming tool built upon Google Blockly that interacts with CB1 based products, such as Gigo’s Robotic Workshop product.

It’s desgined for anyone to try programming physical objects. The Gigo Robotic Workshop comes with motor and sensor modules so you can assemble them in anyway you like and use CB1 Blockly to program it to perform actions automatically or to respond to sensor inputs.

How to use it?

The basic GUI of CB1 Blockly looks like following:

And here are basic break down of the features.

Panel area

On the left hand side, there are many buttons and gauges to indicate the status of CB1 and let you to perform actions with it. From top to bottom, their funcitons are

  • Connect switch - this switch connects or disconnect with CB1 control box.
  • Program buttons - Parse, Step, Run, Stop and Reset. These buttons are to be used when you done some programming (lay out some blocks in the blocks area) and want to see how the blocks translated into programs. By Parse, you can see textual output in the Code area; Step would allow you to run your program (blocks) step by stem and observe the results accordingly; Run and Stop will trigger to run or stop the program entirely; Reset will let you clean everything and start from scratch.
  • Gauges are six graphical dials that indicates the sensor readings and realtime motor status that conneted to CB1.
  • Save and Load buttons are to save and load the program you wrote in blockly area. The selector lets you to choose which slot to save to, or to load the file from.

Blocks area

This is the main area where you’ll do you creative magic. Just select the block you want to play with from the list on the left hand side, or so called ‘tool-box’ area. Then you can drag and drop the block to desired location. Sometimes you can put block in block (or right hand side to it) to represent a parameter input, or underneath a block to represent the procedural execution of program.

Feel free to mess up this area, there’s a handy trash bin so that you can drag blocks to it to discrad them. There’s also convenient zoom in/out controls right above it. Of course, you can use mouse scrolls to zoom as well if you’re plyaing this on desktop.

Code area

This code area is the javascript code output which will be filled when you pressed the Parse button in Panel area. Don’t worry about it since it’s just for you to take a glimpse into what the program you designed in blocks area look like (in lower level). We can figure the meaning out later when you’re really intersted in the mystic form of code.